Every successful part begins long before a single unit ever reaches a shelf, with careful planning that shapes how a rough concept becomes a finished, reliable product. For companies searching for dependable custom plastic injection molders, the path from initial concept to full-scale output involves far more than choosing a manufacturing process, since it also demands sound engineering paired with the right material selection, all guided by a clear roadmap for growing volume without losing consistency.
Understanding how that transition unfolds can spare a project unnecessary delays down the line. Keep reading to see how a proven manufacturing approach carries early sketches all the way to dependable, market-ready parts.
What changes when moving from a prototype to full production?
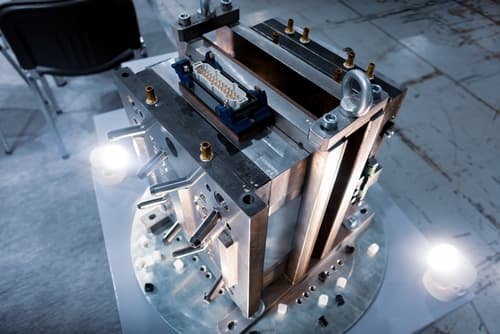 Moving a design out of the prototype stage and into full production reshapes almost every part of a project, from tooling to timelines. What worked for a handful of test units rarely holds up once volume increases, so several adjustments have to happen before output can ramp up smoothly.
Tooling requirements shift
A prototype tool is typically built for speed and low cost, not for thousands of repeated cycles. Once a design moves toward volume, tooling often needs to be rebuilt or upgraded using harder materials that can withstand sustained use without breaking down.
Cycle times become the priority
During early testing, a slower process is acceptable because output is minimal. In full production, cycle times are refined and optimized so parts can be produced quickly and consistently, which is one reason scaling from small batches to big runs requires careful process planning.
Quality control intensifies
Inspection during prototyping is usually manual and occasional. Production-level quality control introduces repeatable checks and tighter tolerances, all backed by clear documentation so every part matches the approved specification.
Cost structures change
Per-unit pricing during prototyping is high because setup costs are spread across very few parts. As volume grows, those same setup costs are divided across thousands of units, which brings the price per part down significantly.
What is a bridge tool, and when is one used?
A bridge tool acts as a middle step between an early prototype and a hardened production tool, and it plays a practical role for teams that need parts before a permanent tool is ready. Rather than waiting months for full tooling, a bridge tool allows a design to move forward while final production tooling is still being built.
Purpose of a bridge tool
This type of tool is built quickly, often from softer materials, so parts can be produced in a fraction of the time a hardened tool would take. It gives engineering and marketing teams real parts to test or present ahead of early sales, before committing to permanent tooling.
Typical use cases
Bridge tools are commonly used when a launch date is fixed, but the final tool isn’t finished, or when a design still needs minor changes before locking in a permanent version. This approach also supports projects that are transitioning from an early concept, much like taking a design from sketch to scale, without stalling progress.
Material and lifespan considerations
Because bridge tools are built for speed rather than longevity, they typically produce a limited number of parts before wearing down. That lifespan is usually enough to cover initial market testing or a smaller production run.
Cost versus production tooling
A bridge tool costs less upfront than a full production tool, but the per-part cost is higher since it isn’t built for high-volume, long-term use.
What risks does skipping prototyping introduce?
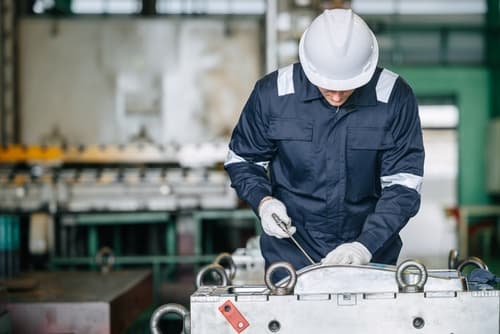 Skipping the prototype stage might seem like a way to save time, but it often introduces problems that are far more expensive to fix once full production is already underway. A design that looks correct on paper doesn’t always behave the same way once it’s formed into a physical part.
Design flaws go undetected
Without a prototype, issues like wall thickness inconsistencies or poor fit between components often go unnoticed until an entire batch has already been produced. Catching these problems early is far cheaper than correcting them after tooling is finalized.
Material behavior surprises
Materials don’t always perform exactly as predicted, and shrinkage or warping can appear only once a part is actually formed. This is part of why manufacturers stress that understanding which step causes mold failure matters just as much as the design itself. The same holds at temperature, where ceramic parts hold their shape while metal gives way.
Budget overruns
When flaws surface late in the process, the cost to rework tooling or redesign a part climbs sharply. What would have been a minor prototype adjustment becomes a much larger production expense.
Timeline delays
Discovering a defect after tooling is complete can push a launch back by weeks or even months, since corrections often require re-cutting or fully replacing tooling components before production can resume.
Where can I find reliable custom plastic injection molders?
Choosing the right manufacturing partner can determine whether a project moves smoothly from concept to finished parts. Wunder-Mold has spent decades helping businesses turn early designs into dependable, production-ready components, guiding each project through thoughtful design support and consistent quality checks along the way.
Whether a project is still in the concept stage or ready to scale into larger volumes, having an experienced partner involved early on helps avoid costly delays and design missteps. From material selection to final part production, every step is handled with the same attention to detail and long-term reliability.
If you’re ready to move your project forward, give us a call today, and let’s talk through what your part needs to succeed.